Editing and publishing a recording
Last updated: May 20, 2025
Edit and publish your recording right after your event. Navigate to Edit → Recording editing.
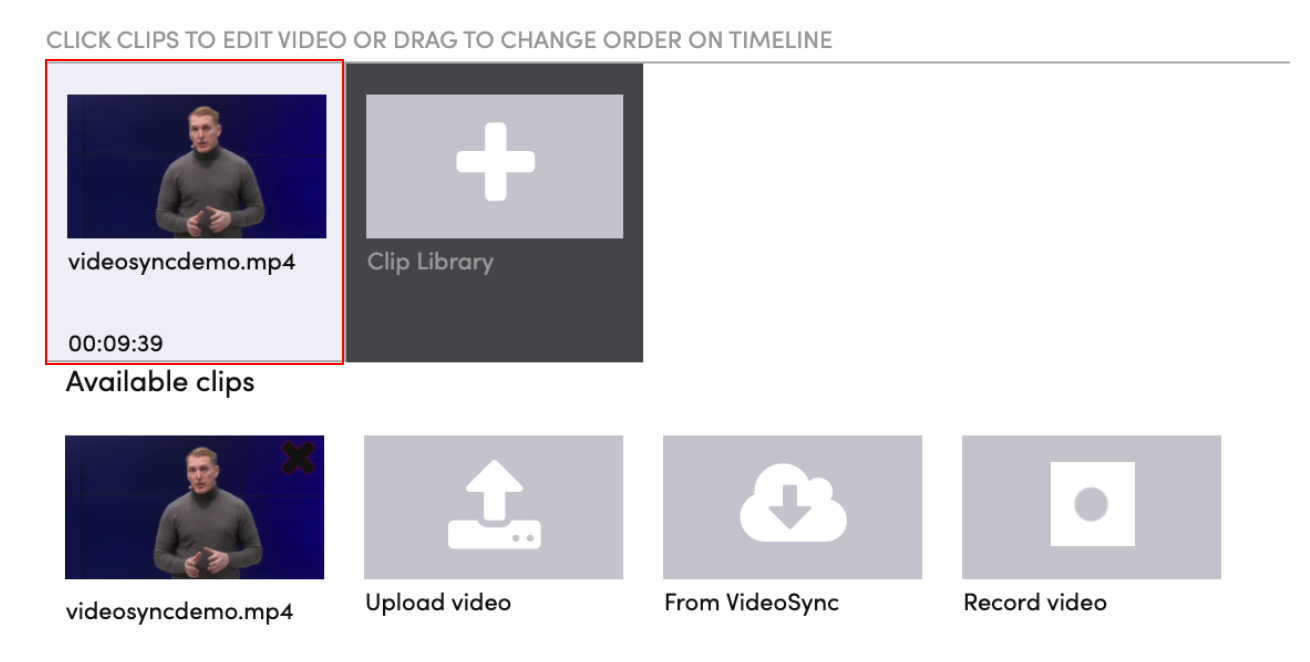
Choosing and rearranging clips
Select your video clips - you can add recorded clips, pre-made videos, or record new ones. Drag clips to rearrange their order.
Click a clip to open the video editor.
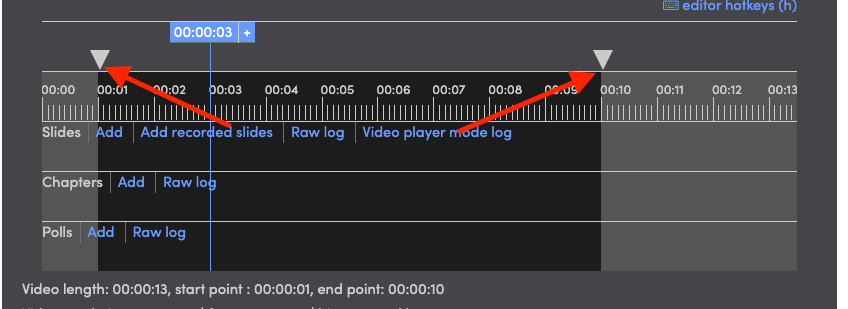
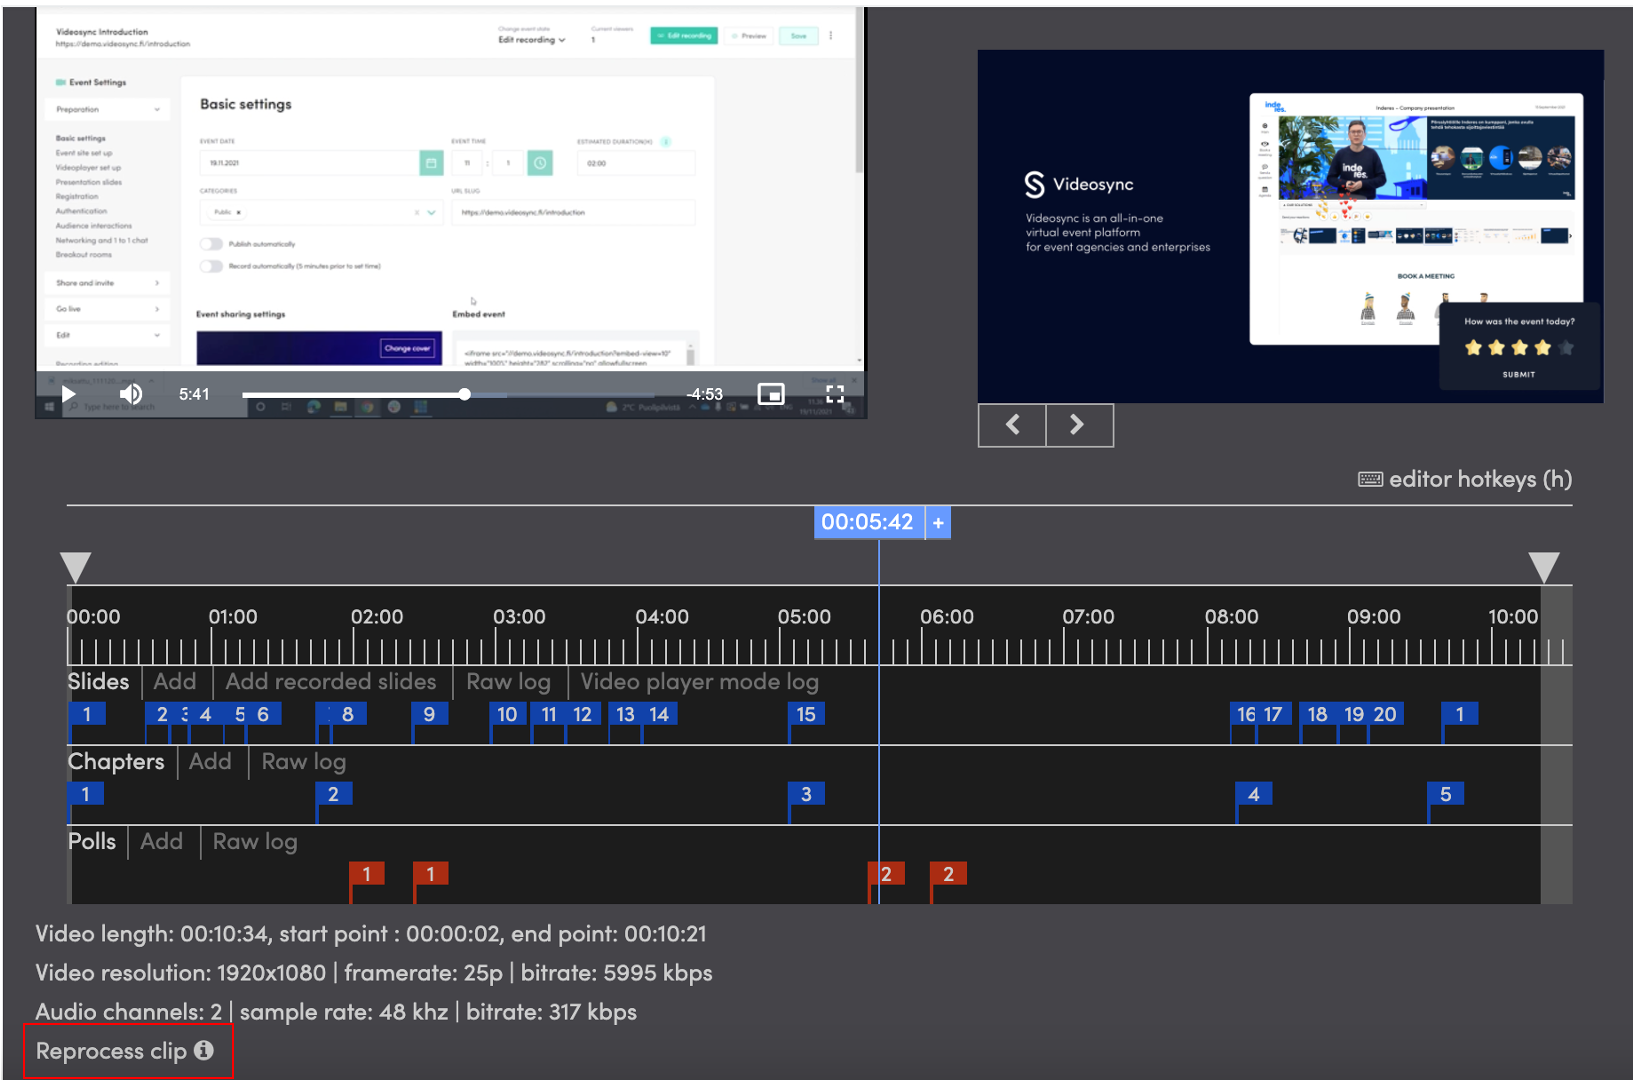
Editing a video clip

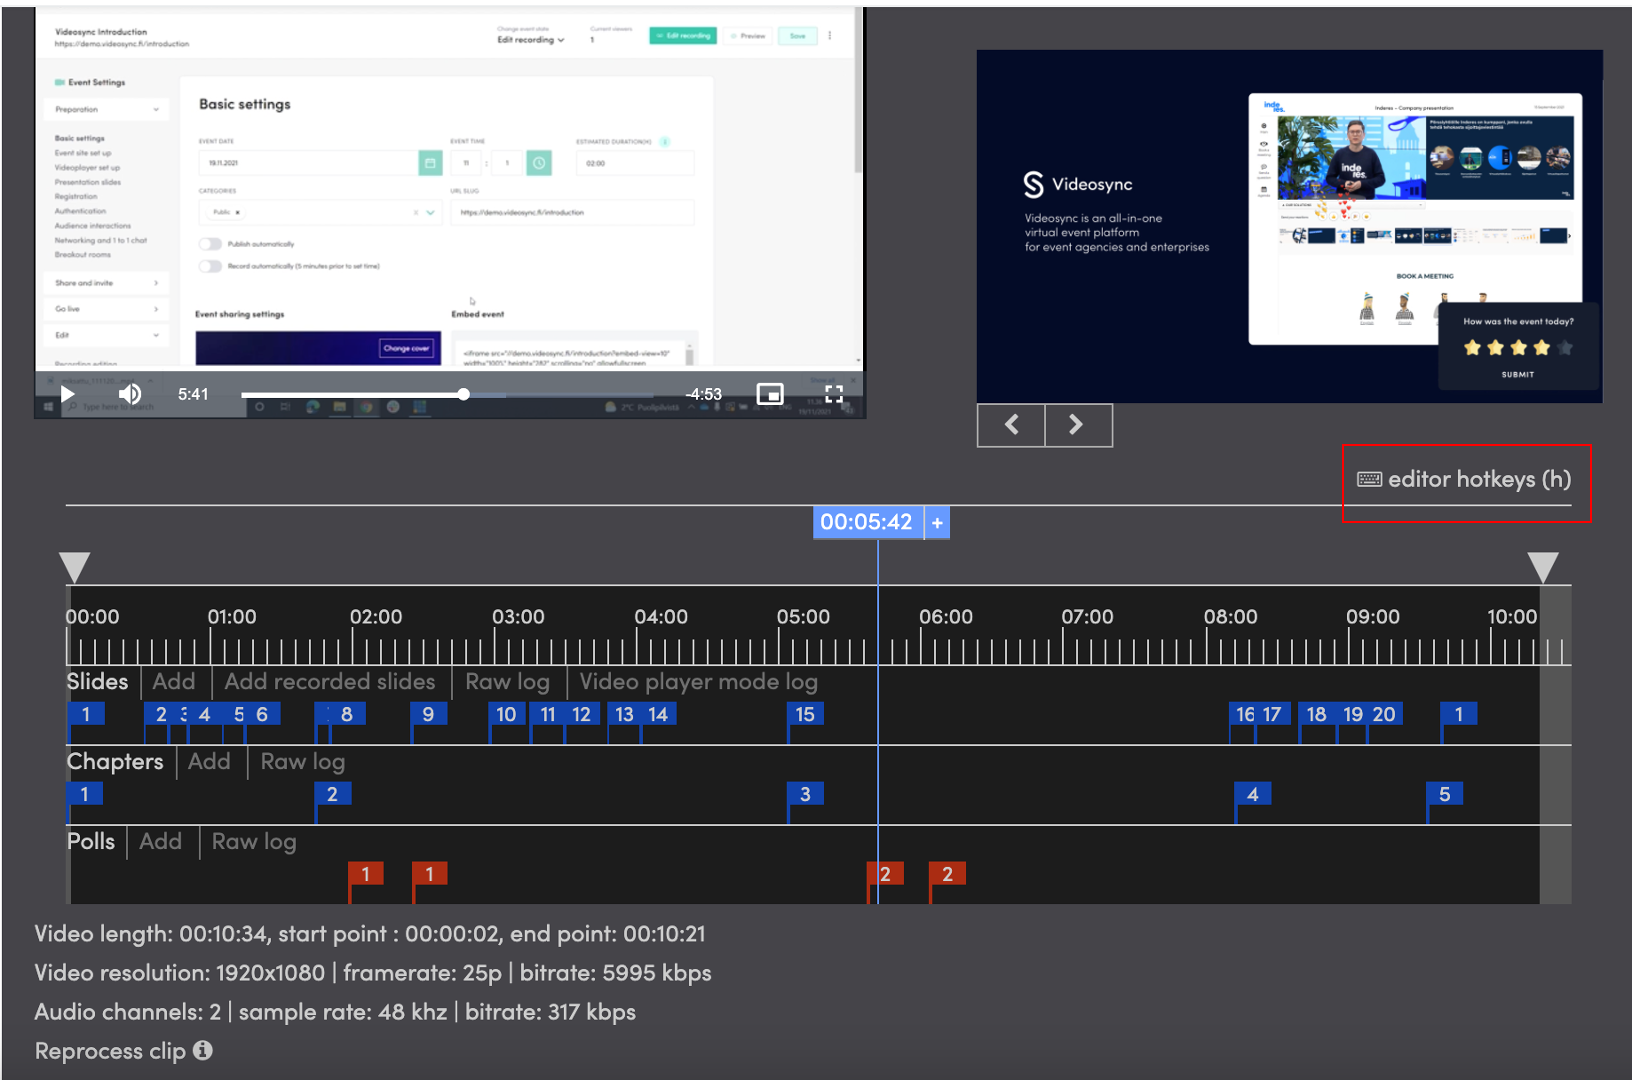
In the video editor you can:
- Modify start and end time: Drag the white arrows to adjust
- Slides: Add, remove, or move slides. Slides sync automatically from the live event, but you can add new ones to fix typos or add content
- Chapters: Add, remove, or move chapters. Auto-synced from Live control room actions
- Polls: Publish and time poll questions and results for VOD viewers
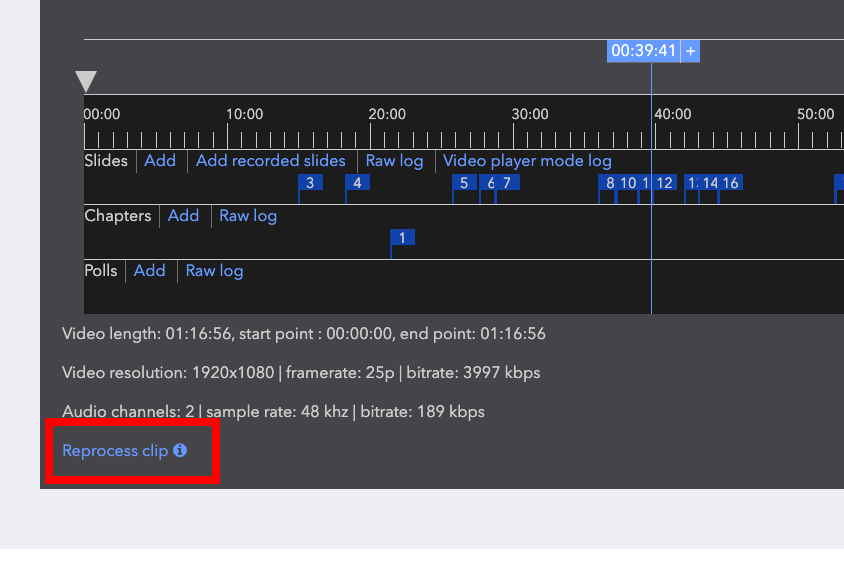
- Technical details: View resolution, framerate, and bitrate. See Reprocess clip for modifications
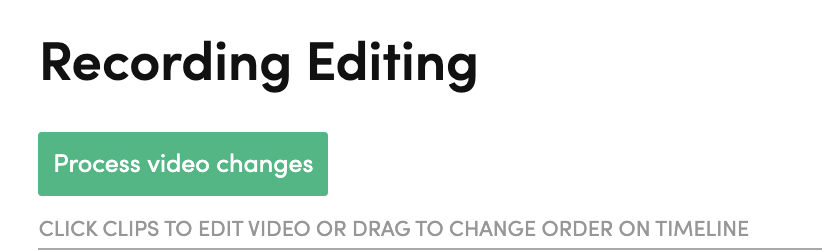
After making changes, click Process video changes to save your edits.
Advanced settings
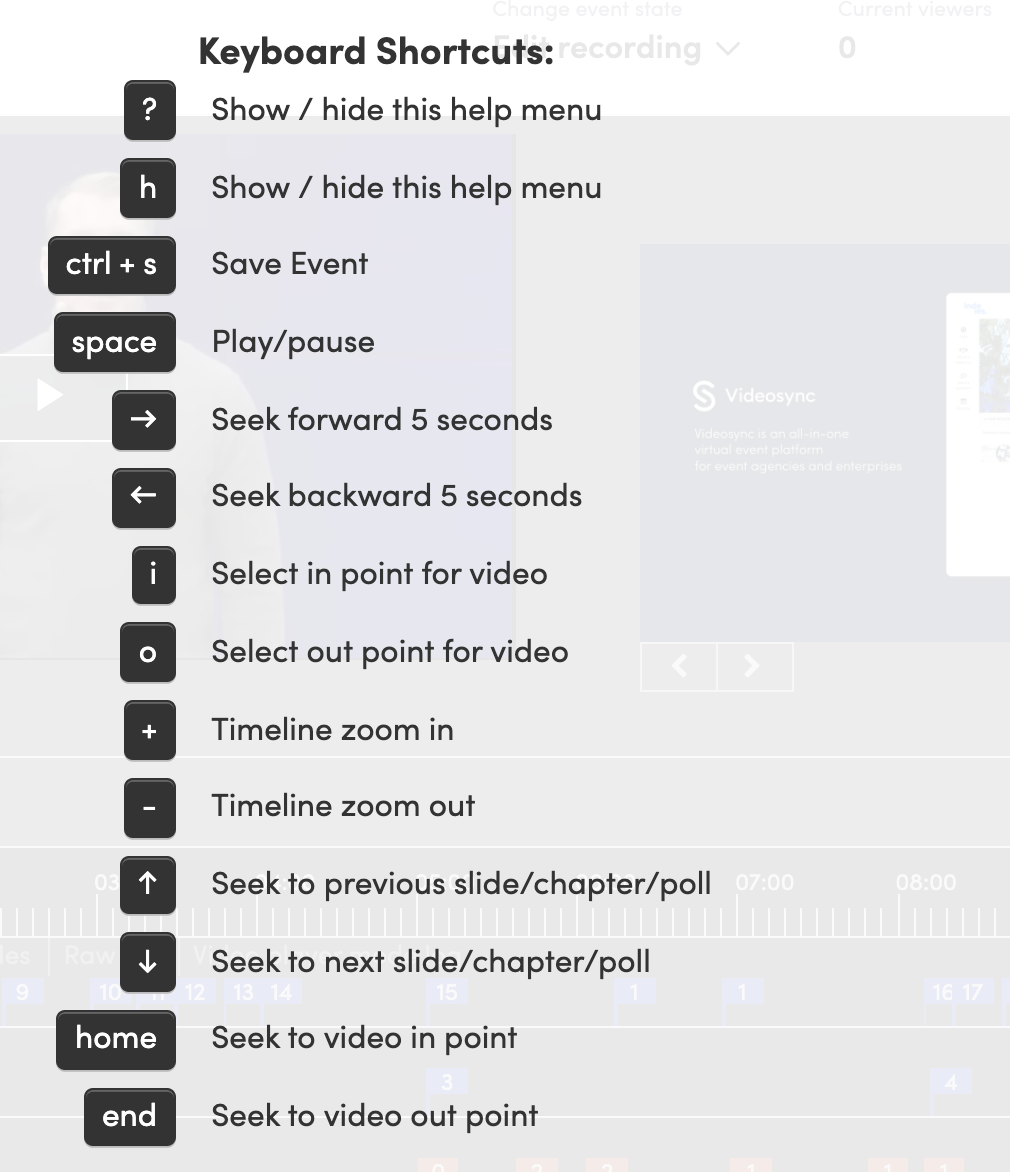
Hotkeys for efficiency
Enable hotkeys by pressing h or clicking editor hotkeys (h).
Hotkeys enable efficient editing. For example, zooming helps find the perfect timing for elements.
Toggle the help menu with h while the video editor is open.
Raw log for tweaking the timings
You can open the raw logs of different elements by clicking the Raw log button in different categories. Raw log allows you to see all the category elements and their exact timings.
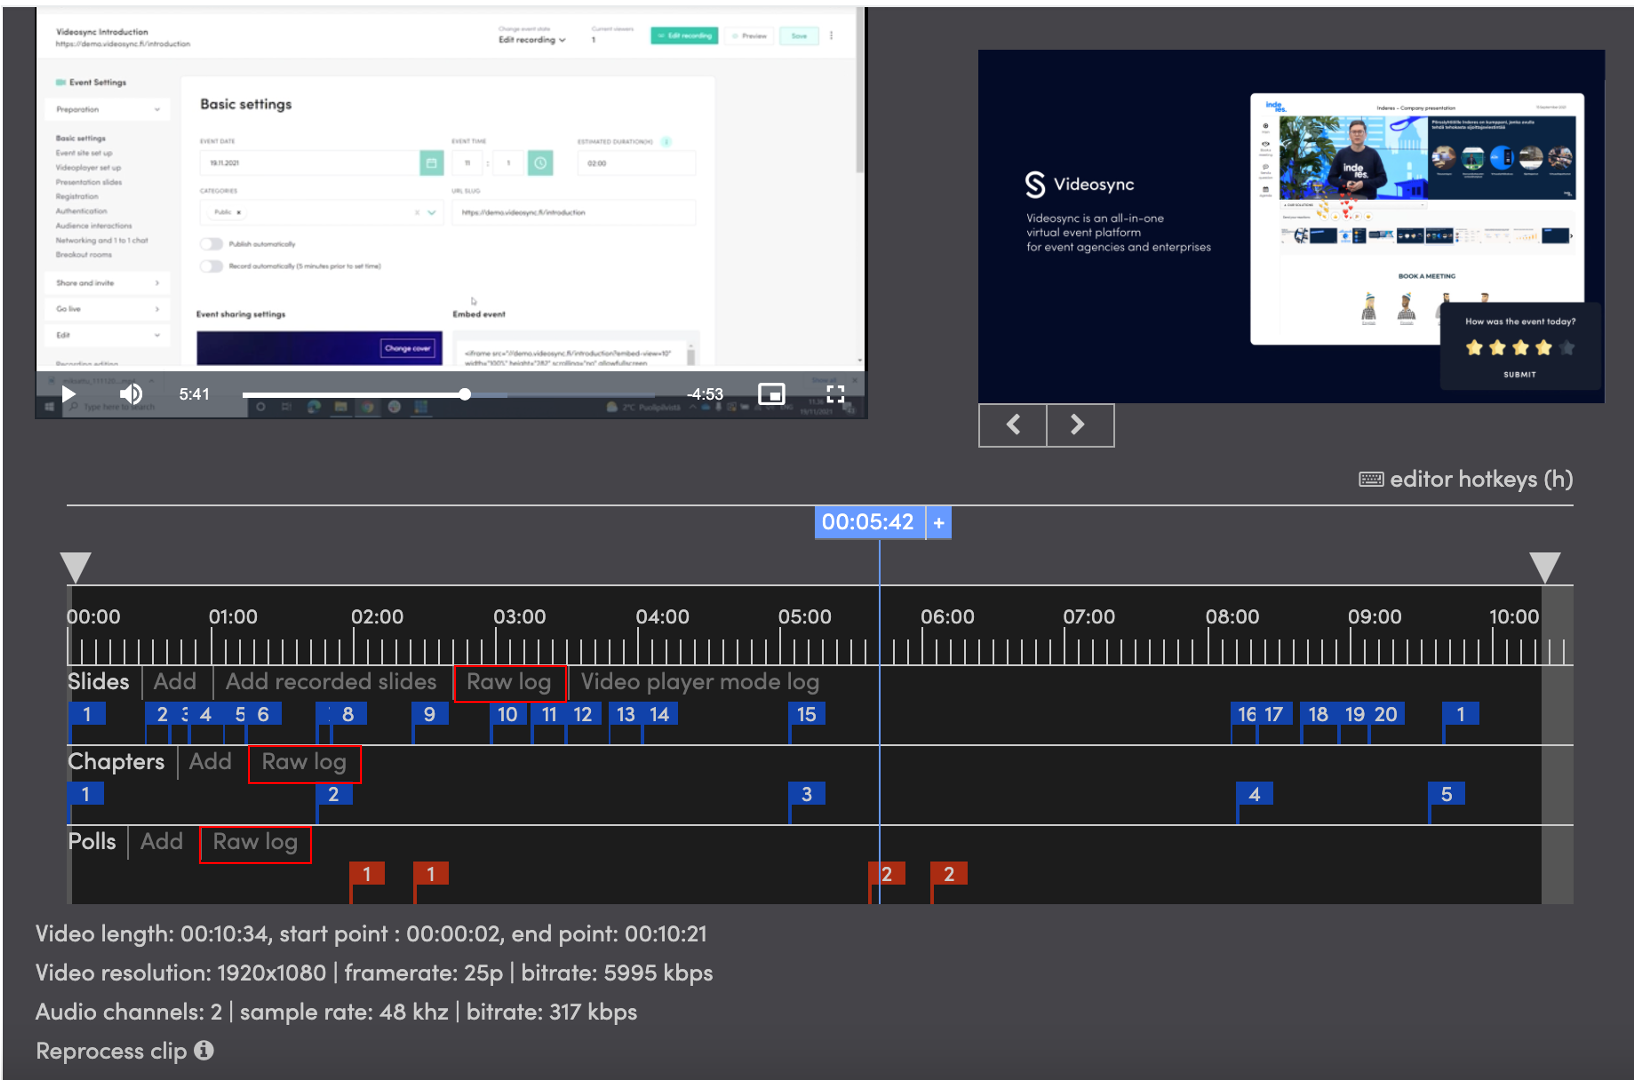
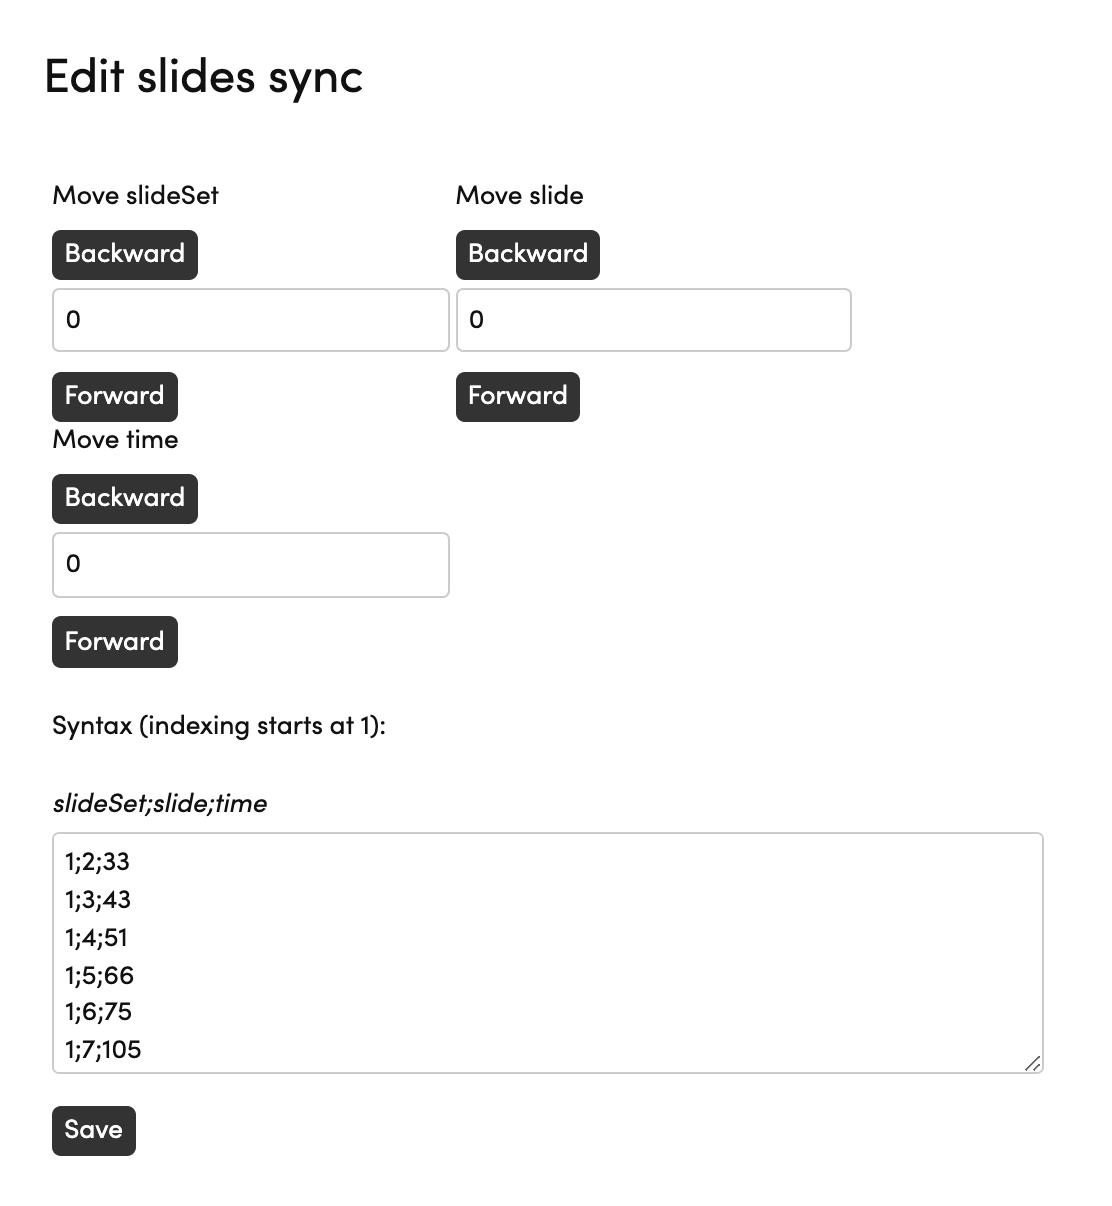
In Raw log you can modify the exact timings of slides, chapters and polls. The syntax follows the similar logic in all categories, the first number is always 1.
Slides:
-
slideSet: slideset you want to show.
-
slide: slide number
-
time: exact time in seconds when you want to show the slide Chapters:
-
chapterSet: chapter number
-
time: exact time in seconds
Polls:
- pollSet: poll number if you have many
- view: view to show; 1=questions and 2=results
- time: the exact time in
Click Save to save the changes.
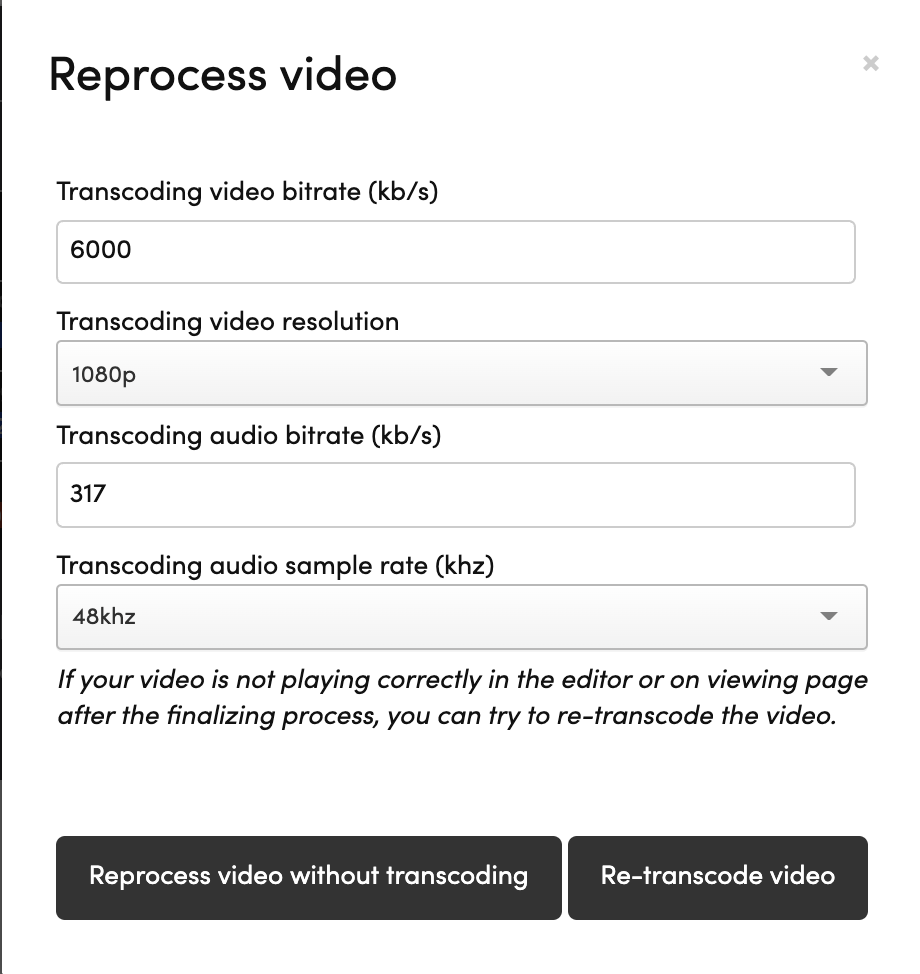
Reprocess video and/or audio
You can modify the video bitrate and resolution by clicking Reprocess clip.
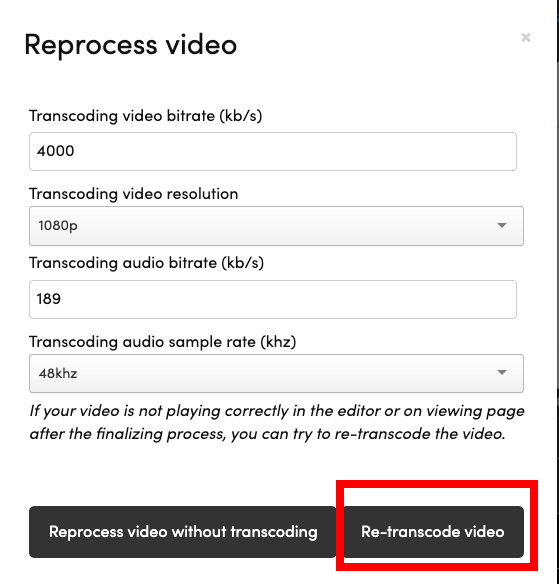
You can modify:
- Video bitrate
- Video resolution
- Audio bitrate
- Audio sample rate
To transcode the video with chosen settings, click Re-transcode video button.
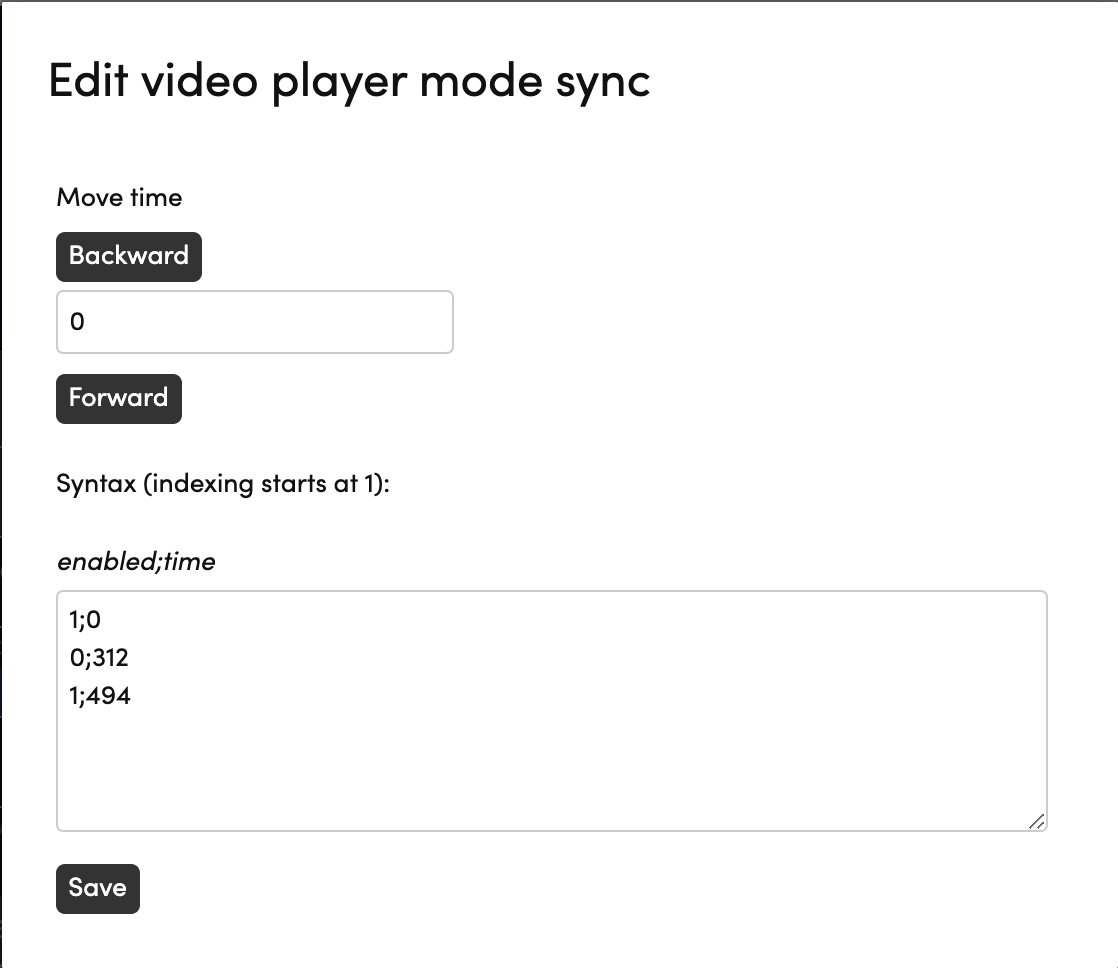
How to transition between different video player modes?
You can change the video player view during your recording, if you want to transition between only video and video + slide views. We have used the feature for example in our own Videosync demo, when we wanted to show only the screen capture and not slides next to it.
You can access the video player mode editor with “Video player mode log” button in editor. You will see a similar editor as with raw logs:
- enabled: Which video player mode you want to enable. 0=video only and 1=video+slides
- time: exact time in seconds when you want to change the mode Click “Save” to save the changes.

Frequently Asked Questions
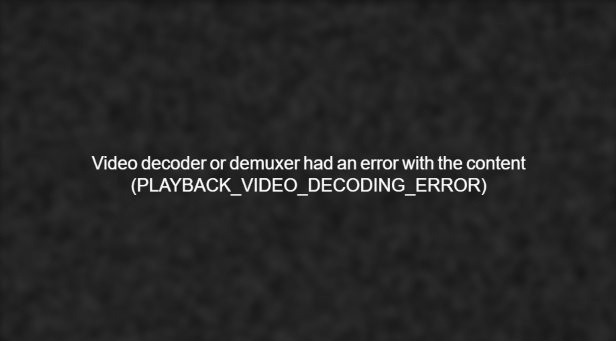
Video playback fails with PLAYBACK_VIDEO_DECODING_ERROR – how to fix?
If you encounter a video decoding error when viewing a recording on the event site, you’ll see an error message like this:
To fix this issue, you need to re-transcode the video in Videosync. Follow these steps:
- Reprocess the problematic clip – Navigate to the clip in the video editor and click the “Reprocess clip” button:
- Select “Re-transcode video” – In the reprocess dialog, click the “Re-transcode video” button:
-
Wait for transcoding – The video will be processed with new encoding settings
-
Copy-paste slides – If the original clip had slides, copy them from the old clip’s raw log to the new clip
-
Remove old clip – Remove the problematic clip from the timeline
-
Adjust timing – Adjust in and out points if needed
-
Re-finalize – Process the video changes to finalize the recording
If re-transcoding doesn’t resolve the issue, you may need to upload a backup recording if one is available.
Can't find what you're looking for?
Our AI assistant is here to help you find the information you need.